Website Growth
Google Tag Manager Setup: Install GTM and Add GA4 on the Current Screens
By Bibek Thapa · Updated · 13 min read
Quick Answer
To set up Google Tag Manager, create an account and web container, install the code your container shows on every page, and test it. Then add a Google Analytics tag with your G- ID on Initialization - All Pages, preview it in Tag Assistant, and publish a named version. GTM is free. If GA4 is your only tag, you may not need it.

Table of ContentsOn this page
- Do you need Google Tag Manager at all?
- What changed: screens versus help pages
- Before you start the Google Tag Manager setup
- Step 1: Create the account and web container
- Step 2: Install the Google Tag Manager code
- Step 3: Check the container loads
- Step 4: Add the Google Analytics tag
- Step 5: Preview, verify and publish
- Step 6: Add one meaningful custom event
- Set up consent before adding more tags
- Keep the container easy to maintain
- Common Google Tag Manager setup mistakes
- Google Tag Manager setup checklist
- Frequently Asked Questions
- Sources and References
Key Takeaways
- Copy the install code from your own container. Anobee's shows one snippet, while Google's help page still shows two.
- For GA4, Google now recommends the Google Analytics tag. The older Google tag route is listed as the alternate.
- An empty container is not free to load: Anobee's measured about 118 KB gzipped before any tag was added.
- Preview every change in Tag Assistant, confirm it in GA4, then publish a named version you can return to.
- If you run one analytics tag and a developer can edit the code, GTM may add more than it gives you.
A Google Tag Manager setup has five jobs: create a web container, install its code, confirm it loads, add a Google Analytics tag, then preview and publish a named version. GTM itself is free.
The catch in 2026 is that Google's screens and Google's help pages no longer agree. Anobee's container offers one install snippet, while the help page shows two. The GA4 tag has a new name too, and the tutorials we read for this update, including the earlier version of this page, describe the older setup. Below is what the real screens said on 4 November 2026.
How this guide was checked: every screen below comes from Anobee's own GTM container, viewed on 4 November 2026 without saving a change. That container is empty. It was published on 25 August 2026 with no tags, and anobee.com loads GA4 directly instead. So the steps after installation were checked against the live interface and Google's help pages, not against a running Anobee setup.
Do you need Google Tag Manager at all?
Not always. GA4 can go straight into your site code, and that is how Anobee runs. If GA4 is your only tag and a developer can edit the site, GTM adds a second system to maintain.
| Your situation | Better choice |
|---|---|
| One GA4 tag on a site you can edit | Direct install |
| Several marketing or advertising tags | GTM |
| Marketers need to change tags without a developer | GTM |
| A site builder with a built-in GA4 field | The builder's field |
| You need versions and rollback for tag changes | GTM |
Anobee's site loads GA4 through its code and sends custom events from the same code. Microsoft Clarity runs separately. The Google Analytics setup guide covers that direct route.

GTM also has a weight. On 4 November 2026, Anobee's empty container file, gtm.js, measured 117,635 bytes with gzip compression, and 334,730 bytes uncompressed. That was with no tags inside. The direct GA4 file for Anobee's stream measured 191,363 bytes gzipped. These are single measurements of files Google changes often, and they do not show the total for a site running GA4 through GTM. Still, GTM is not weightless. You adopt it for control, not speed.
What changed: screens versus help pages
Read this before you follow any tutorial, because three details differ depending on where you look.
| Detail | Anobee's GTM screen, 4 Nov 2026 | Google's help pages |
|---|---|---|
| Install code | One block, after the <head> element | Two blocks, script and noscript [2] |
| GA4 tag type | Google Analytics, marked New | Google Analytics recommended [4]; another page says Google Tag [3] |
| ID field | Measurement ID | Tag ID [3] [4] |
When a tutorial and your container disagree, follow your container. Google may show different screens to different accounts, so one container cannot prove what every account sees.
Before you start the Google Tag Manager setup
Settle three things first.
Who owns the account. Use a Google account the organisation controls, and add a backup administrator. A freelancer or agency should work inside your account, not hold the only login.
What you want to measure. List the actions that matter. A service business might start with this:
| Business action | Event | Where to verify |
|---|---|---|
| Contact form succeeds | generate_lead | GA4 DebugView and Realtime |
| Phone link selected | click_to_call | GA4 DebugView |
| PDF downloaded | file_download | GA4 DebugView and reports |
Never send form contents, email addresses or phone numbers as event parameters.
What is already installed. Search your page source for GTM- and googletagmanager.com, and check your plugin settings. Anobee's source shows gtag/js?id=G- and no GTM- ID, which is how you recognise a direct GA4 install. If you find a container that belongs to your organisation, ask for access instead of creating a second one.
Step 1: Create the account and web container
Go to Google Tag Manager, open the Accounts tab and select Create Account [1].
- Enter the company name as the account name, and select the country.
- Enter the website domain as the container name.
- Choose Web as the container type.
- Select Create and accept the terms.
The container ID starts with GTM-. Do not confuse it with the GA4 ID, which starts with G-. The first names the container on your site. The second names the GA4 data stream that receives the data.
Step 2: Install the Google Tag Manager code
Select the GTM- ID at the top of the workspace to open Installation instructions. There are two tabs.
Install with a website builder or CMS lists platforms such as WordPress, Wix, Shopify and Squarespace. Use this route when your platform supports it, because you skip copying code by hand.
Install manually gives you the code. On Anobee's container this was one block, and the instruction was to paste it on every page, immediately after the <head> element, with no more than one Google tag on each page.

Google's help page still shows the older pair: a script high in the head and a noscript block after the opening body tag [2]. Copy what your own container shows, because it carries your ID. If your screen gives you two blocks, install both.
Pick one installation method. A plugin plus pasted code loads the container twice and duplicates every tag. On WordPress, avoid editing a parent theme's files, because a theme update can overwrite the change. After installing, clear your page, server and CDN caches.
Step 3: Check the container loads
The install screen has an optional Test your website field. Enter your URL and select Test. On Anobee's site it returned "Your Google tag wasn't detected on your website", which is correct, because the code is not installed there. Seeing that message after you install means something is wrong.
Then use Preview for a fuller check. Select Preview, enter your URL and connect to Tag Assistant [6]. Visit a few page types, such as the home page, an article and a thank-you page, to confirm the code is not limited to one layout.
A container request in the Network panel proves GTM loaded. It does not prove GA4 received anything.
If Tag Assistant will not connect, start with the exact URL, redirects and caches. The debug signal it adds to the URL can break some sites, and you can untick Include debug signal in the URL when connecting [6]. Ad blockers and strict content security policies are also worth ruling out.

Step 4: Add the Google Analytics tag
You need a GA4 property and web data stream first. Copy the G- ID from the stream, then in your container:
- Open Tags and select New, or Add tag on an empty container.
- Name the tag, such as
GA4 - example.com. - Select Tag Configuration, then Google Analytics, then Google Analytics.
- Paste the
G-ID into Measurement ID. - Leave the optional sections alone unless your plan needs them.
- Check the trigger. On Anobee's container, it filled in Initialization - All Pages by itself.
- Save.

The second item in that list, Google Analytics: GA4 Event, is for individual events, not the base setup.
Google's help page recommends this Google Analytics tag and says it lowers the JavaScript on your pages and centralises settings. It lists the Google tag, under Other Google, as the alternate method [4]. If you already run a Google tag in GTM and it works, you do not have to rebuild it today. Older tutorials that name a "GA4 Configuration" tag are out of date.
Remove any direct install in the same release. If you are moving GA4 into GTM, take the old code out when you publish. Leaving both active counts every page view twice. Anobee would have to do this first if it ever moved.
Step 5: Preview, verify and publish
Select Preview, enter your URL and connect. Tag Assistant opens your site in a debug session and shows which tags fired, which did not, and why [6]. Check that:
- the correct container connects
- the Google Analytics tag fires on initialization
- its ID matches the right GA4 stream
- it fires once per page load
- the consent state matches what the site intends
Next, open GA4 and find your test visit in DebugView or Realtime. Tag Assistant shows what happened in the container. GA4 shows what Analytics received. You need both, because a tag can fire and still send data to the wrong property.
When the preview is clean, select Submit, keep Publish and Create Version selected, add a version name and description, and select Publish [7]. Name it "Initial GA4 tag", not "Update". That version is your recovery point. You can publish a saved version again from the Versions tab if a later release breaks something [7].
Name versions even when you are only testing. Anobee's live version has no name, so its list says nothing about why it exists.
Then test once more outside preview, because preview only proves the draft.
Step 6: Add one meaningful custom event
Once the base tag works, add the most valuable event from your plan. A confirmed form submission tells you more than a dozen button clicks.
Ask a developer to push an event only after the action succeeds:
window.dataLayer = window.dataLayer || [];
window.dataLayer.push({
  event: 'generate_lead',
  form_name: 'contact_form'
});
A form that fails validation then sends nothing. In GTM, go to Triggers, select New and choose Custom Event [8]. Enter generate_lead, attach the trigger to a Google Analytics: GA4 Event tag and use the same event name [12].

Test three cases before publishing:
- a successful submission fires the event once
- a validation error does not fire it
- refreshing the confirmation page does not fire it again
Be careful with click triggers. A rule such as "Click Text equals Get a Quote" breaks when the copy changes. If you must use one, base it on a stable ID or data attribute. A click also does not prove that a form or purchase succeeded.
Set up consent before adding more tags
GTM helps tags respond to a visitor's choice. It does not decide which laws apply, and it does not make a banner compliant.
Tags can carry their own consent settings, and the Consent Overview screen shows which tags have them configured. The Consent Initialization trigger fires before all other tags, including Initialization triggers [9]. Google recommends a consent management platform (CMP) for Tag Manager sites, and CMP templates sit in the Community Template Gallery [10]. The tag picker now shows a Featured Community CMP Templates entry too.
Consent mode uses four parameters: ad_storage, analytics_storage, ad_user_data and ad_personalization. Defaults must be set before tags run, and Google warns that defaults will not work if the consent code runs out of order [10].
Test each state before you publish marketing tags: a first visit, analytics denied, analytics granted, a returning visitor and a visitor who changes their choice. Get privacy advice for the defaults. They depend on your products and on where your visitors are.
Keep the container easy to maintain
- Name things clearly. Use patterns such as
GA4 event - generate_leadandTrigger - custom event - generate_lead. - Turn on variables only when you need them. A smaller workspace is easier to audit.
- Prefer a data layer over scraping visible text for values such as form names [5].
- Release small changes. One version called "Added lead form event" is easier to undo than one called "Updates".
Common Google Tag Manager setup mistakes
- Installing the container twice. Usually a plugin plus pasted code.
- Mixing up
GTM-andG-. The container code needsGTM-, and the tag inside needsG-. - Following an old tutorial. If the guide says GA4 Configuration, the screens have moved on.
- Running GA4 twice. A direct install plus a GTM tag doubles your events.
- Publishing without checking GA4. "Tags Fired" does not prove the right property got the data.
- Counting clicks as conversions. Tie important events to a confirmed success.
- Sending personal data. Keep names, emails and phone numbers out of events and URLs.
- Assuming GTM makes a site faster. Anobee's empty container alone was about 118 KB gzipped.
Google Tag Manager setup checklist
- The organisation owns the account and has backup access.
- One web container is assigned to the site.
- The install code came from your own container.
- Only one installation method is active.
- Tag Assistant connects on every important page type.
- The Google Analytics tag uses the correct
G-ID on Initialization - All Pages. - No direct copy of the same GA4 stream remains.
- GA4 DebugView or Realtime shows the test visit.
- Consent states are defined and tested.
- The first conversion records a confirmed outcome.
- No personal values are sent.
- Every release has a useful name.
- Production is checked again after publishing.
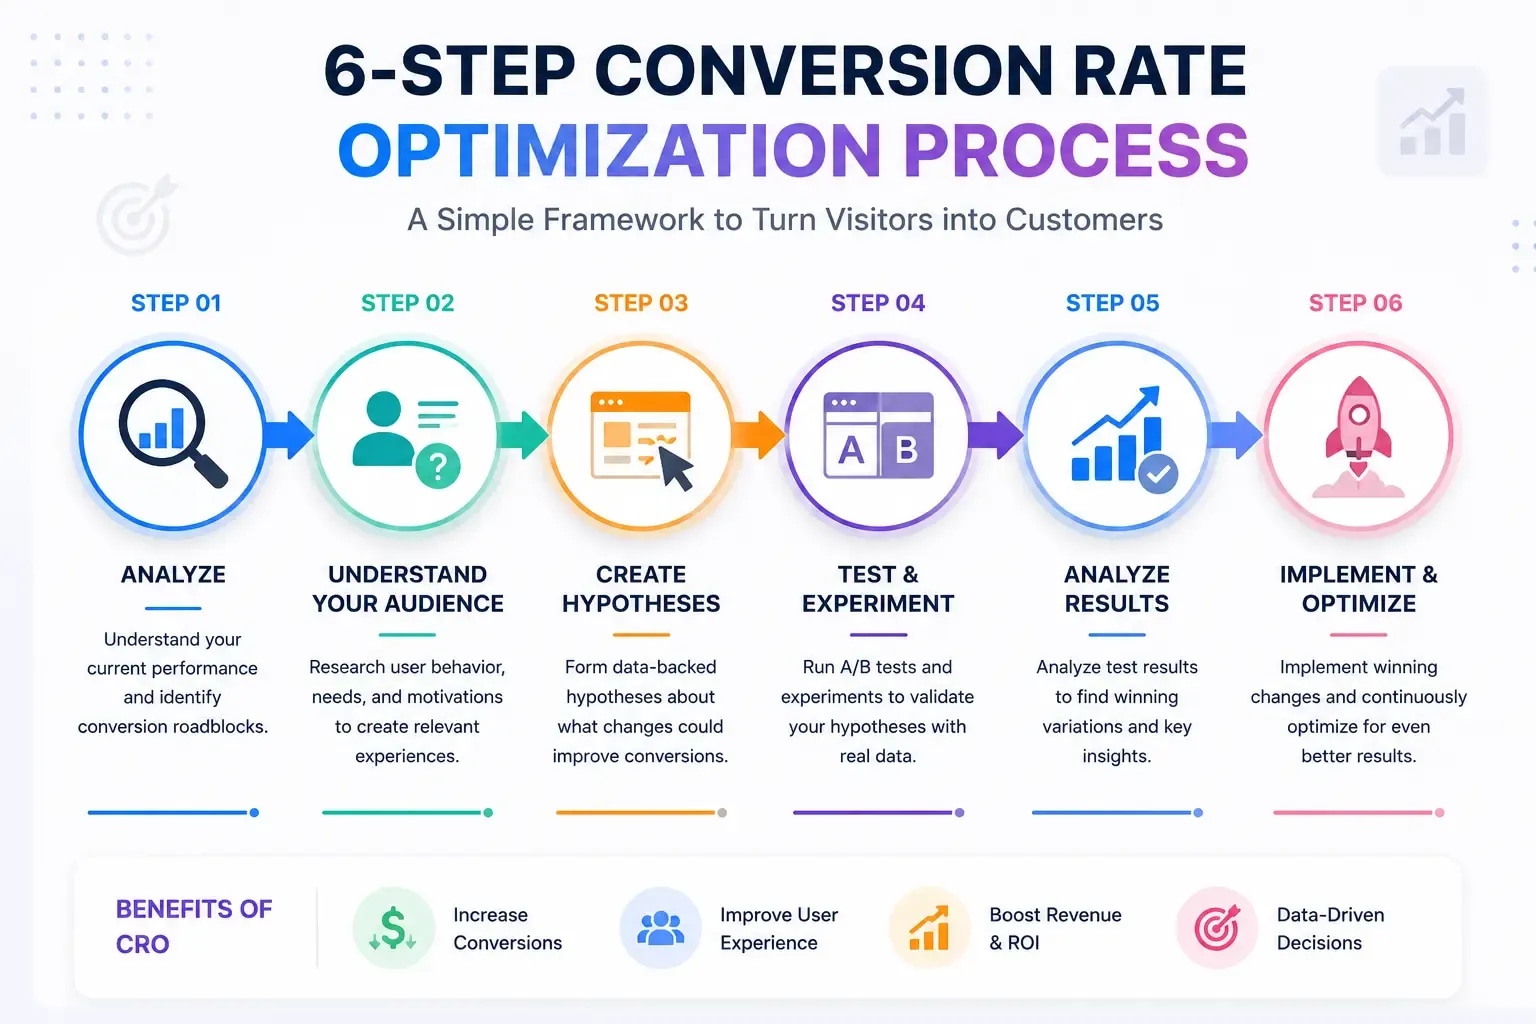
Once that Google Tag Manager setup works, build only the events you will use. Connect them to your conversion rate optimization process, or add the Microsoft Clarity guide when recordings can answer a specific question. Then stop. Nobody needs a bigger container for its own sake.
Frequently Asked Questions
Is Google Tag Manager free?
Yes. Google describes Tag Manager as free. Tag Manager 360 is a separate enterprise product in Google Marketing Platform, and nothing in a standard website setup requires it.
Is Google Tag Manager the same as Google Analytics?
No. Google Tag Manager controls when tags run and what data they receive. Google Analytics collects, processes and reports the data. You can deploy GA4 through a Tag Manager web container or install it directly.
Do I still need the noscript snippet?
Install what your own container gives you. Anobee's install screen showed one script block and no noscript block on 4 November 2026, while Google's help page still shows both. If your screen shows two blocks, install both.
Should I install GA4 directly and through Google Tag Manager?
No. Running the same GA4 stream both ways duplicates page views and events. Pick one route, document it, and check the live page does not load a second copy.
Why will Tag Assistant not connect to my site?
Check the exact URL, redirects and caches first. Google notes that the debug signal Tag Assistant adds to the URL can break some sites, and you can untick Include debug signal in the URL when connecting.
Can I roll back a bad Google Tag Manager publish?
Yes. Tag Manager keeps your container versions, and you can publish an earlier one from the Versions tab. A rollback restores the configuration, but it cannot recover data that was missed or duplicated while the faulty version was live.
Sources and References
- Google Tag Manager Help: Create an account and container ↩
- Google Tag Manager Help: Install a web container ↩
- Google Tag Manager Help: Add the Google tag in Google Tag Manager ↩
- Google Tag Manager Help: Set up Google Analytics in Tag Manager ↩
- Google Tag Manager Help: Components of Google Tag Manager ↩
- Google Tag Manager Help: Preview and debug containers ↩
- Google Tag Manager Help: Publishing, versions and approvals ↩
- Google Tag Manager Help: Custom event trigger ↩
- Google Tag Manager Help: Consent configuration ↩
- Google Tag Platform: Set up consent mode on websites ↩
- Google Marketing Platform: Tag Manager
- Google Tag Manager Help: Set up Google Analytics events in Tag Manager ↩
Was this guide helpful?
Your answer helps Anobee improve future updates.

Written by
Bibek Thapa
AI-Powered Digital Growth Strategist
Bibek Thapa works across AI workflows, SEO, AI search optimization, content strategy, website growth, and productivity systems at Anobee.
- AI workflows
- Digital growth
- SEO
- GEO
- AEO
- Content strategy
- Website growth